
In Free Fire, landing that Booyah! isn’t just about having the fastest reflexes or the best aim. It’s a blend of strategy, quick thinking, and a sixth sense for survival. What if you could anticipate where the next safe zone is going to appear? It’s not about cheating or hacking—it’s about smart gameplay, and that’s what Free Fire zone prediction is all about. It’s not just some fancy term for pros; mastering zone prediction boosts survival rates and tactical advantages. Think about it: knowing where to go before anyone else, setting up ambushes, and grabbing the best loot undisturbed. Want to know how to read the map like a seasoned strategist? Let’s get you there.

Free Fire Zone Prediction: How the Safe Zone Works in Free Fire
The safe zone in Free Fire is your best friend and worst enemy all rolled into one. At the beginning of each match, a huge area is marked as safe, giving players plenty of room to drop, loot, and breathe. But as time ticks on, that safe zone shrinks in phases, pushing everyone closer together. These phases keep the pressure on and force confrontations, ensuring no one camps forever.
Knowing how the safe zone behaves is your first step to success:
- Early Game: The initial safe zone is large, and the damage from being outside is minimal. This phase is all about looting and preparing for the skirmishes to come.
- Mid Game: Here’s where things get interesting. The zone starts shrinking more aggressively, and the damage ramps up. You need to start planning your rotations and avoid being caught in the open.
- Late Game: Final circles are tiny, and the damage is brutal. Every second counts, and positioning becomes paramount. A wrong move can mean certain doom.
The placement of each safe zone is randomly determined at the start of the match. While you can’t predict the exact location, understanding the map and past trends can give you a good idea of where the next safe zone might land, improving your Free Fire zone prediction skills.

Why Zone Prediction is Key to Success in Free Fire
Zone prediction is the secret sauce that sets top players apart. It’s not just about surviving a few extra minutes—it’s about controlling the flow of the game and dominating the battlefield.
First, think about survival. How many times have you been caught outside the safe zone, desperately chugging medkits while taking damage? Accurate zone prediction lets you avoid that panic entirely. It lets you rotate early, secure a safe position, and keep your health bar full. Furthermore, strategic advantages come with planning ahead. Reaching high ground early or securing a choke point inside the next safe zone gives you a massive edge in combat.
In the heat of battle, fast decisions matter. Being able to quickly read the map and anticipate safe zone movements gives you a significant advantage over players who are simply reacting to the shrinking circle.
Tools, Features, and Cues for Predicting Zones in Free Fire
Free Fire is filled with subtle cues that can help you predict where the safe zone will shrink next. Being a keen observer can be the key to getting ahead.
- The Mini-Map: Keep an eye on the mini-map, especially during the countdown to the next safe zone. It gives you a clear picture of the current zone and hints about possible future locations.
- Initial Safe Zone: Pay close attention to where the first safe zone appears. The location of the initial zone often influences the placement of subsequent zones, which is a key aspect of Free Fire zone prediction.
- Visual Cues: Watch for patterns in how zones have moved in the past. Do they tend to favor certain areas of the map? Are there specific POIs that often end up inside the safe zone? The more you play, the more you’ll notice these patterns.
- Map Indicators: Free Fire uses visual indicators on the map to point out potential safe zone locations. These markers can be valuable in making informed decisions about where to rotate.
The more attention you pay to these subtle cues, the better you’ll become at predicting where the safe zone will move next.

Map-Specific Zone Prediction Strategies
Each map in Free Fire has its quirks. It pays to know them:
- Bermuda: Known for its varied terrain, Bermuda often sees zones shift towards areas like Peak or Bimasakti Strip. Securing high ground early is key.
- Alpine: With its snowy landscapes and scattered settlements, Alpine’s zones often end up near central landmarks. Keep an eye on areas like the Railway Station or the River Mouth.
- Kalahari: This desert map favors open areas and sparse cover. Zone predictions here should consider natural rock formations and sparse building clusters.
- Purgatory: A more compact map, Purgatory demands quick rotations and awareness of choke points like the Central area.
Understanding the map layout and popular zone tendencies provides an edge in planning your movements.

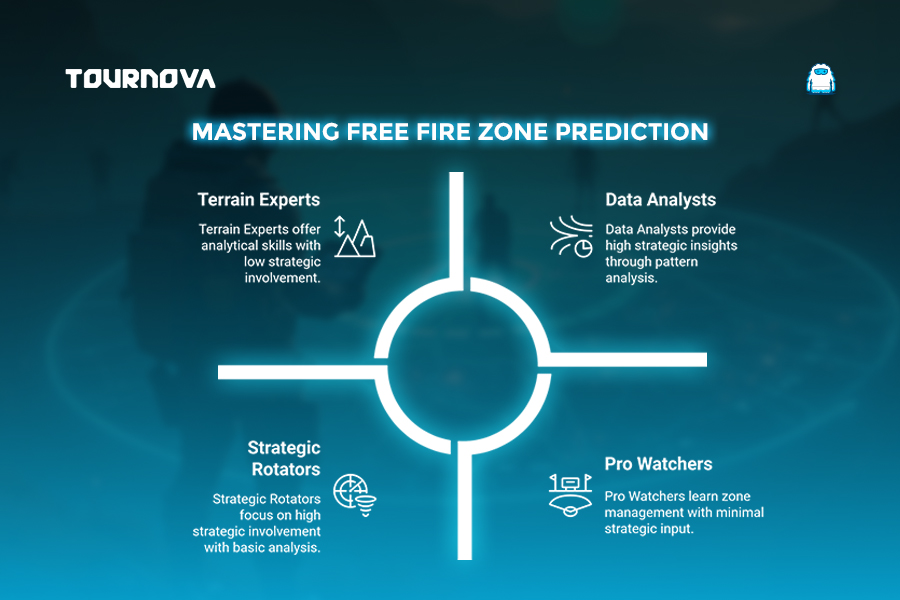
Advanced Zone Prediction Tips for Competitive Players
For seasoned players and competitive squads, Free Fire zone prediction transcends instinct and becomes a science. What are some advanced techniques to put into practice?
- Environmental Analysis: Pro players scrutinize environmental clues. They assess the terrain type, elevation changes, and the availability of cover to anticipate optimal positions in the next circle.
- Historical Trends: Data plays a crucial role. Analyzing past game patterns provides insights into commonly favored zones, helping to refine predictions.
- Tournament Observations: Viewing pro matches from events like the Free Fire World Series offers real-world examples of effective zone management. See how experienced players capitalize on predictive knowledge.
- Timing Mastery: Strategic timing separates good rotations from great ones. Competitive players excel at positioning while minimizing exposure, securing safe zones, and eliminating unnecessary risks.
Adopting these techniques in your gameplay sharpens decision-making, putting you closer to dominating the arena.

Common Zone Rotation Mistakes in Free Fire
Even seasoned players can fall prey to poor zone rotation. Here are some common mistakes to avoid:
- Late Rotations: Waiting too long to move often results in a desperate scramble while taking damage. Plan your rotations early to ensure you have enough time to reach the safe zone without panicking.
- Blindly Following the Crowd: Just because everyone else is heading in one direction doesn’t mean it’s the right way to go. Assess the situation, consider alternative routes, and make your own decisions based on your understanding of Free Fire zone prediction.
- Ignoring the Map: Not paying attention to the map is a recipe for disaster. Always be aware of your surroundings, the location of the safe zone, and potential dangers.
- Insufficient Resources: Running out of healing items or Gloo Walls when caught outside the safe zone can quickly spell doom. Ensure you have enough supplies to survive the rotation.
Awareness of these pitfalls can help keep you alive and in control throughout your match.
Impact of Free Fire Update Changes on Zone Predictions
The ever-evolving nature of Free Fire means that zone prediction strategies must also adapt. With each new update, seasonal event, or map introduction, the game undergoes subtle and sometimes significant changes that impact zone behavior.
1. New POIs: New Points of Interest (POIs) can introduce fresh rotational paths and alter the dynamics of zone prediction. Be sure to explore new locations to understand how they affect zone tendencies.
2. Tweaked Mechanics: Keep an eye out for changes to zone mechanics. Has the rate of zone shrinkage been altered? Are there new tools or features that impact zone awareness? Staying informed is crucial.
3. Map Layouts: If there are changes to the map layout, update your strategies. Adjust to the new environments.
4. Stay adaptable: Free Fire evolves constantly. Keep on your toes.

Mastering the Shrink: How Tournova Elevates Free Fire Competitions
The art of Free Fire zone prediction is nothing short of a tactical lifeline, turning survival instincts into calculated strategies. Tournova leverages these dynamic mechanics to support organizers in creating compelling tournaments that highlight players’ ability to anticipate and adapt to ever-shrinking safe zones. From crafting precise brackets to tracking match results and ensuring seamless scheduling, Tournova empowers event managers to replicate the thrilling zone-based challenges of Free Fire for both casual and competitive audiences.
By streamlining the administrative complexities of tournament organization, Tournova ensures that competitors can focus solely on tactical rotations, strategic positioning, and endgame mastery—key aspects that define success in Free Fire. These tools pave the way for players to showcase their adaptability and strategic foresight, making every tournament a rich battlefield where zone prediction expertise truly shines.

In the End: Mastering the Art of Zone Prediction in Free Fire
Zone prediction is more than a skill—it’s a mindset. Understanding zone mechanics, using map knowledge, and avoiding common pitfalls will set you apart. Practice these Free Fire zone prediction techniques and see yourself go from a reactive player to a strategic force. The arena will become an easier place to dominate as you anticipate what comes next. Do you have the secret to always knowing the next safe zone location? Spill the beans in the comments section below! We want to hear what tips and tricks help you read the zones.
Read the hottest in-depth Esports Guides on Tournova.
FAQ
1. How do Gloo Walls help with zone prediction?
Gloo Walls provide temporary cover, making it easier to navigate through open areas during rotations. Use them strategically to shield yourself from enemy fire and reach the safe zone more safely.
2. Can weather patterns affect zone behavior?
Weather effects do not directly affect zone placement, but they do impact visibility. Adjust your strategies based on current weather conditions to compensate for reduced visibility.
3. Should I engage in fights during rotations, or avoid them?
It depends on your resources and positioning. If you have a clear advantage and can secure a quick kill, engage. If not, avoid unnecessary fights and prioritize reaching the safe zone.
4. Are vehicles helpful in zone prediction?
Vehicles can speed up your rotations. You can quickly get into the safe zone while minimizing exposure to enemies. However, be careful when driving since you’re an easy target.