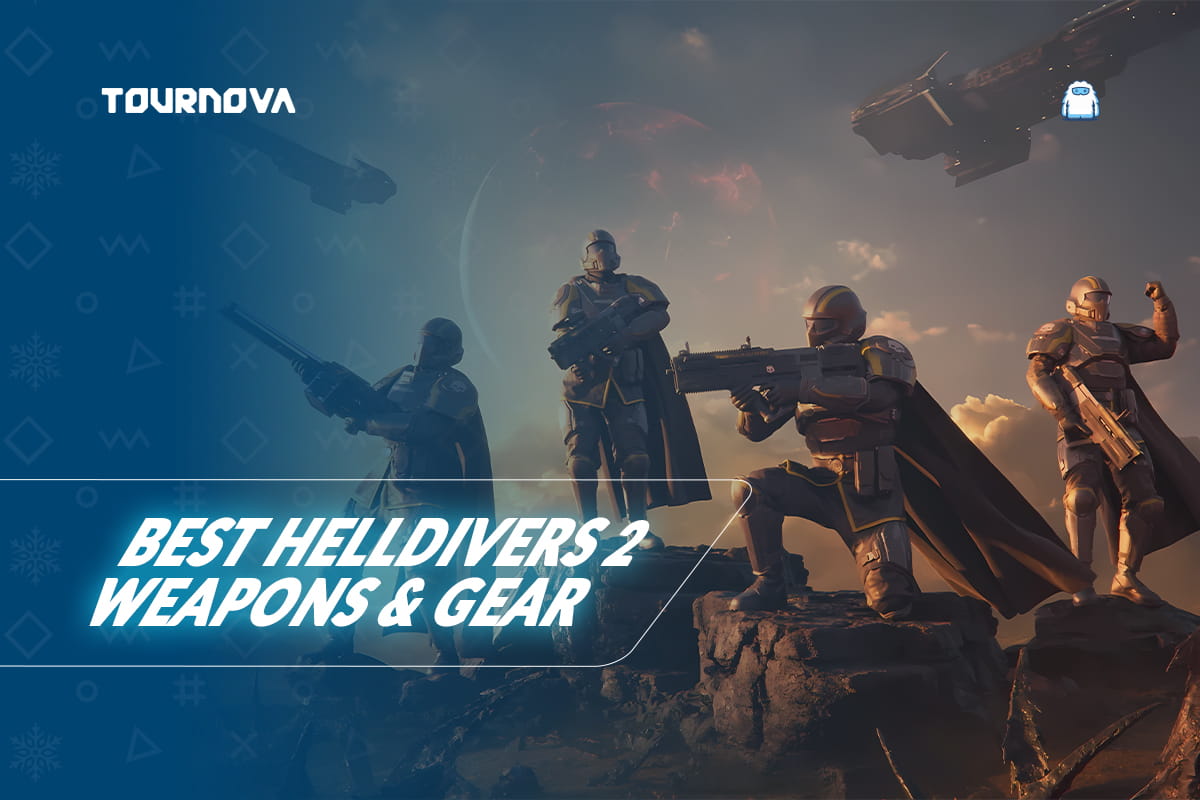

Have you ever been absolutely demolished by an unexpected onslaught of bugs or cyborgs in Helldivers 2? (We definitely have… more times than we care to admit.) What we learned, after plenty of trial, error, and a few friendly team debates, is that survival isn’t about twitch reflexes alone. It’s about preparation, cooperation, and above all, having the right gear for the job. That’s why creating and updating a Helldivers 2 tier list is vital for anyone aiming for victory in the brutal galactic war. Whether you’re new to the Super Earth cause or a seasoned squad leader, this tier list will give you a complete walk-through of the best weapons, meta builds, how to synergize gears in squads, and which perks actually carry you through the hardest missions. If you stick with us, you’ll not only boost your win rates, you’ll enjoy the game in whole new ways.
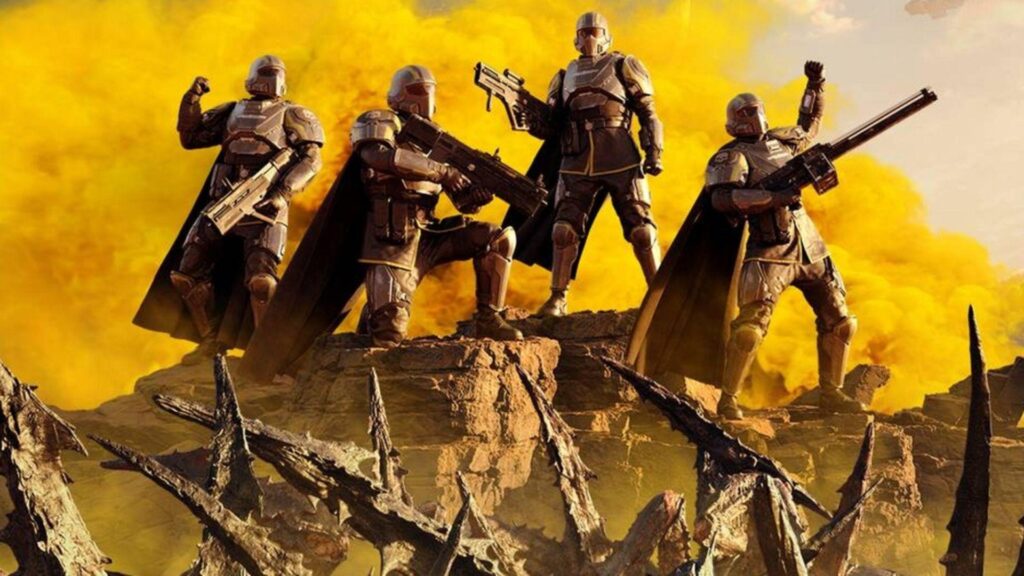
Helldivers 2 Tier List: Weapons, Gear, and Loadouts Ranked
So, what exactly separates S-Tier from D-Tier? In Helldivers 2, it’s not just about raw stats. The best gear should scale to higher difficulties, fit into flexible loadouts, and make your squad stronger no matter the mission. Everybody’s got that one piece of gear they swear by, but as the meta shifts and new patches roll in, it pays to keep up.
Let’s break things down step by step:
1. The Role of Gear in Success
Gear is your lifeline in Helldivers 2. It doesn’t matter if you’re lone-wolfing through Terminid-infested tunnels or breaching Cyborg fortresses with friends; your chosen loadout dictates your odds of survival. We’ve experienced firsthand how a mistimed stratagem or an ill-suited perk can unravel even the tightest squads. Picking the right combo transforms a frantic scramble into smooth teamwork.
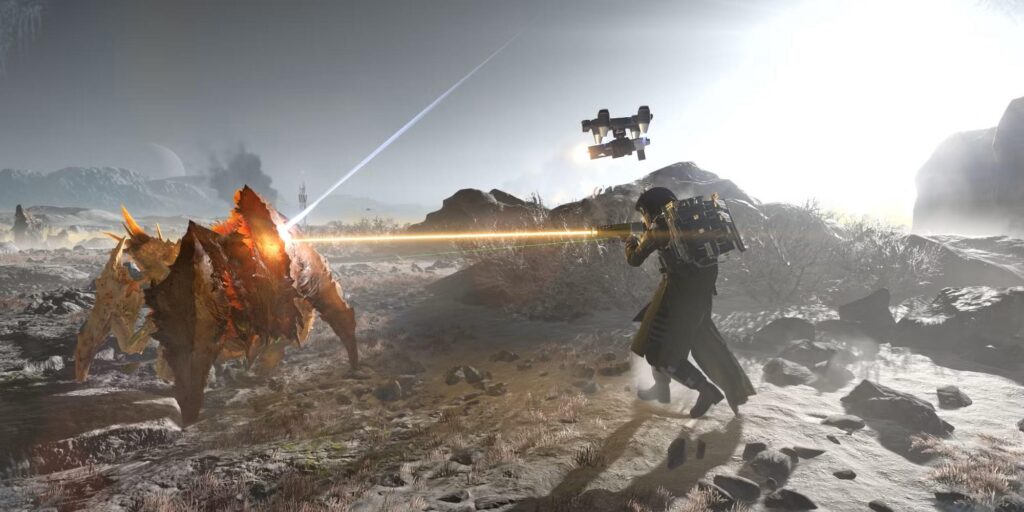
Loadout optimization is what turns challenging missions into memorable victories. We’ve seen how adapting roles such as tank, DPS, support, or crowd control makes even four strangers play like a well-oiled machine. As missions get tougher, synergy and strategy, informed by a strong understanding of the Helldivers 2 tier list, start to matter just as much as individual performance. In this guide, we’ll break down ranking criteria, the most effective gear, and tested strategies to help you and your team win more.
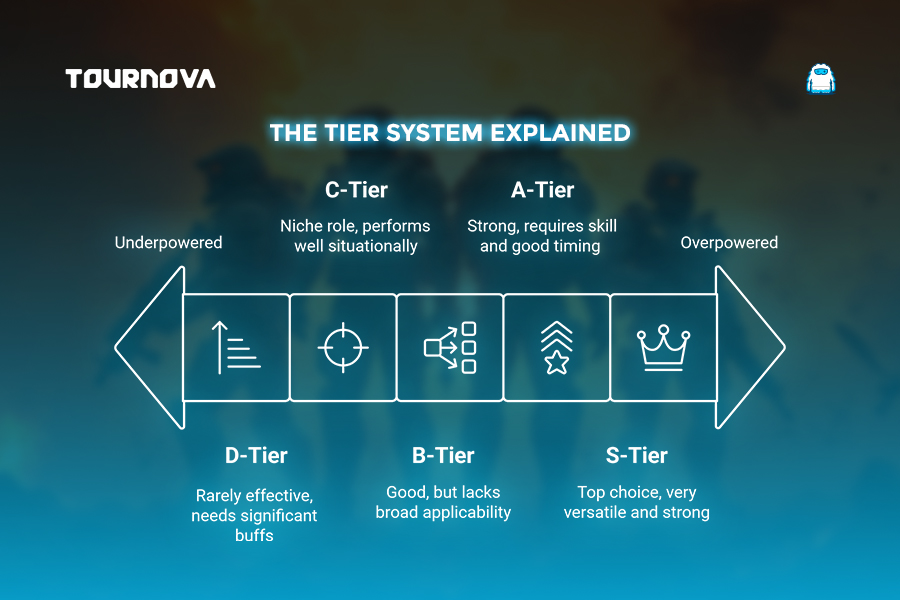
2. The Tier System Breakdown
When sorting the vast array of weapons, stratagems, and perks, we use a tiered approach:
– S-Tier: Universal powerhouses; gear and builds are almost always effective regardless of difficulty, enemy faction, or playstyle.
– A-Tier: Strong options, but often require some skill or situation to shine. Still great for most content.
– B-Tier: Niche picks with balanced stats but very specific uses.
– C-Tier: Heavily specialized gear that rarely justifies its pick unless the mission needs it.
– D-Tier: Outclassed or underwhelming; use only if you must!
In every tier, we weigh damage output, crowd control, survivability, ease of use, squad synergy, and utility against different enemy types (looking at you, Illuminate).
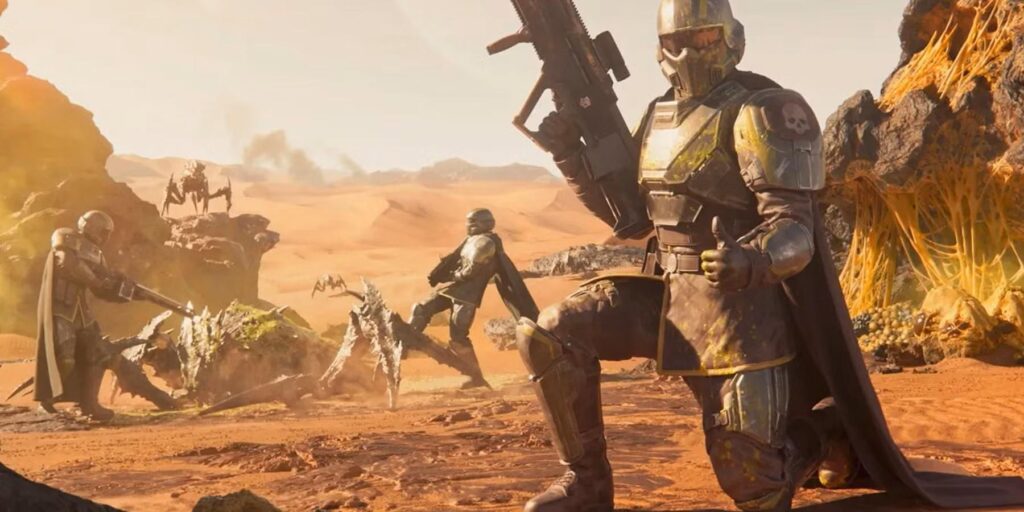
3. S-Tier Choices: The Best Weapons and Equipment
Few things are as satisfying as blasting through enemies with gear that just works. These Helldivers 2 tier list S-Tier picks are the backbone of every successful squad; trust us, we’ve seen players drag whole teams to safety with the right loadout.
– Punisher Shotgun: No-nonsense up-close devastation; fantastic against Bugs and Cyborgs, especially on defense missions. It’s not just about damage; it can stagger big threats and wipe out hordes in a flash.
– Justice Grenade Launcher: This beauty solves most “too many enemies” problems. Its splash damage and reliability keep your team’s flanks safe when things get messy.
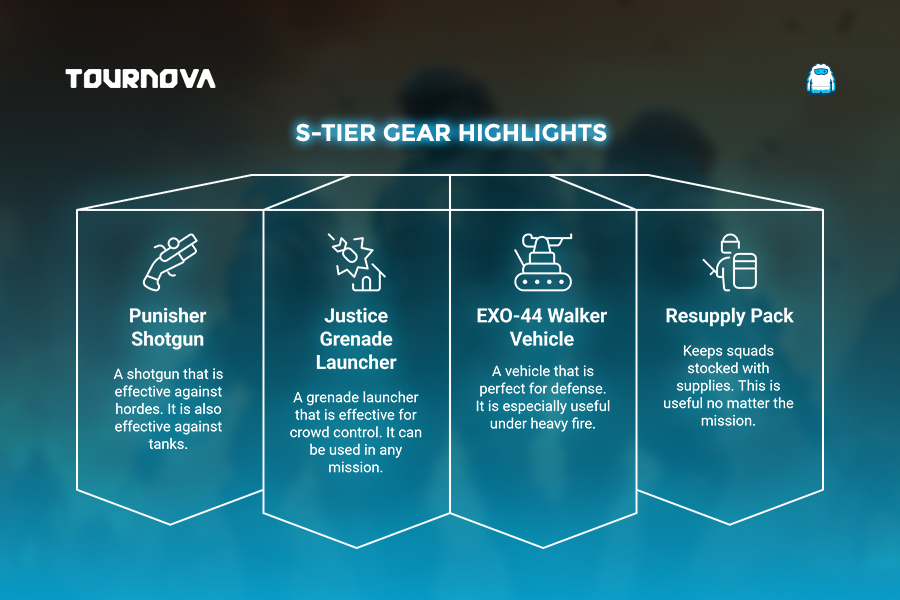
– EXO-44 Walker Vehicle: Dropping one of these into a hot AO is a game-changer, especially for squads struggling on high-difficulty missions. The firepower and defensive bonus can carry you through the toughest assaults.
– Resupply Pack (Perk): Squad-wide, this is non-negotiable. The longer you can keep firing, the longer you can stay alive.
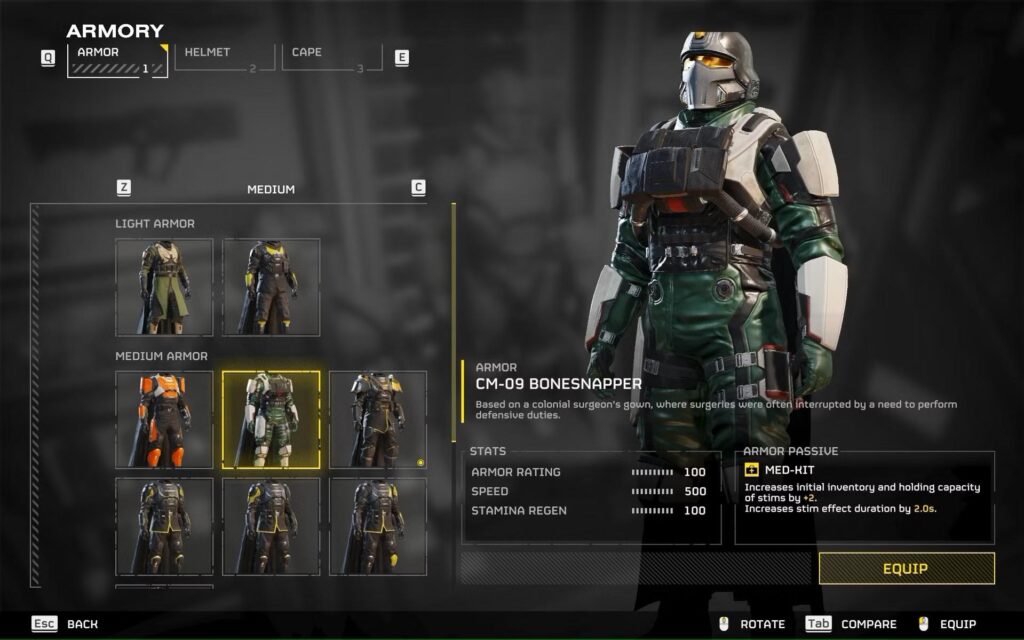
– Heavy Armor Deployment (Perk): The meta armor for tanky roles. It lets you hold objectives when the pressure is at its highest.
We usually mix and match these for heavy-action missions, and they rarely disappoint, especially once everyone syncs up and communicates.
4. A-Tier Gear: Powerful but Situational
A-Tier gear can outshine even S-Tier under the right circumstances or in the hands of skilled players. Still, it requires a finer strategy, according to this Helldivers 2 tier list.
– Scorcher Flamethrower: Unbeatable in close-quarters tunnel maps and Bug nests. The downside? It loses potency in open spaces or against armored Cyborgs.
– Stasis Grenades: When your team is facing overwhelming odds, these will freeze the biggest threats for the follow-up kill. They’re tricky to time but can swing boss fights.
– Arc Thrower: Massive burst potential, especially against shield units or mechanical foes. The charge time is risky, so good comms are a must.
– Motion Sensor Perk: Not essential, but gives critical intel on flanking enemies and hidden threats.
Try combining the Arc Thrower with Stasis Grenades for devastating results; just be sure to coordinate with your team, or risk friendly fire chaos.
5. B-Tier Gear: Viable but Outshone
Every Helldiver has that quirky friend who swears by these. They work, and sometimes they even shine, but their weaknesses keep them just shy of meta status.
– Laser Cannon: It’s decent, but the slow rate of fire and charge management often puts you at risk. Can delete bosses if managed perfectly.
– Support Drone: A solid solo tool, providing backup fire or handy heals. But in a coordinated squad, other tools usually provide more.
– Entrenchment Tool Perk: Good for long defense missions, where digging in is required, but not always adaptable for mobile sorties.
– Autocannon: Hits hard, but ammo is always an issue, and setup time can get you in trouble.
For mission types like base defense, these can really pull their weight; just don’t expect miracles outside their niche, based on this Helldivers 2 tier list.
6. C-Tier Gear: Limited Utility
Some gear works only if the stars align or your mission is ultra-specific; we’re looking at you, C-Tier.
– Homemade Grenades: Great in basic training missions, but basically tickle armored enemies and leave you wishing for more boom in advanced ops.
– Detonator Land Mines: Effective at chokepoints, but otherwise too slow to deploy and easy to avoid. Best left for creative defense or specific map bottlenecks.
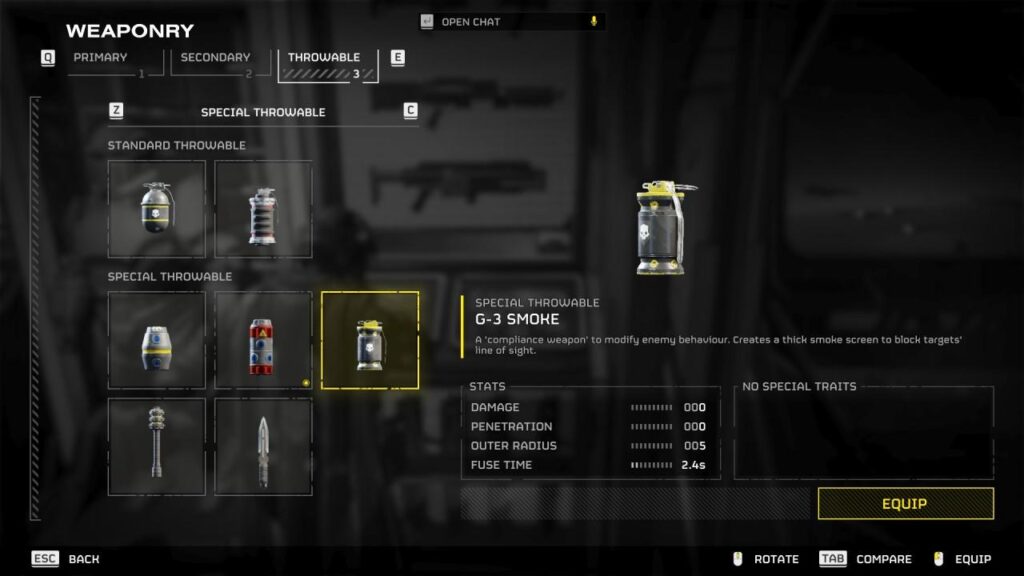
– Smoke Grenade: The First time we used it, our squad ended up more confused than the enemy! Use sparingly for escape or distraction plays.
If you’re experimenting, these can be fun, but for harder missions, we tend to swap these out quickly.
7. D-Tier Gear: Outdated and Ineffective
Every time we try these, we remember why we left them behind.
– Starter Rifle: A solid introduction to Helldivers, but damage and accuracy just can’t keep up after your first few missions. Swap for Punisher or another DPS ASAP.
– Basic Medkits: When the action heats up, these little kits just can’t patch you up fast enough; Resupply Pack walks all over them.
– Pistol Sidearms: Only use if your main weapon is empty, but honestly, it’s time to upgrade.
If you find yourself relying on these, check the armory and try something better suited to higher-difficulty content, as indicated by this Helldivers 2 tier list.
8. Best Builds and Loadouts for Success
There’s no “one build beats all” answer, but here’s what’s been working best for us:
1. Tank Build: Heavy Armor, Flamethrower or EXO-44 Walker, with Resupply Pack. Lead the charge, draw aggro, and keep your squad alive under pressure.
2. DPS Build: Punisher Shotgun and Justice Grenade Launcher, running Resupply for constant crowd control and damage.
3. Support Build: Drone Deployment paired with Shared Ammo Supplies or Motion Sensor. Hang back, heal, spot threats, and let your squad focus on their jobs.
A memorable run for us was taking the classic Tank/Support/DPS split up to max difficulty; the difference in survival and mission efficiency was night and day compared to random, uncoordinated gear choices. If you can, talk to your squad and plan loadouts around mission objectives and threat types.
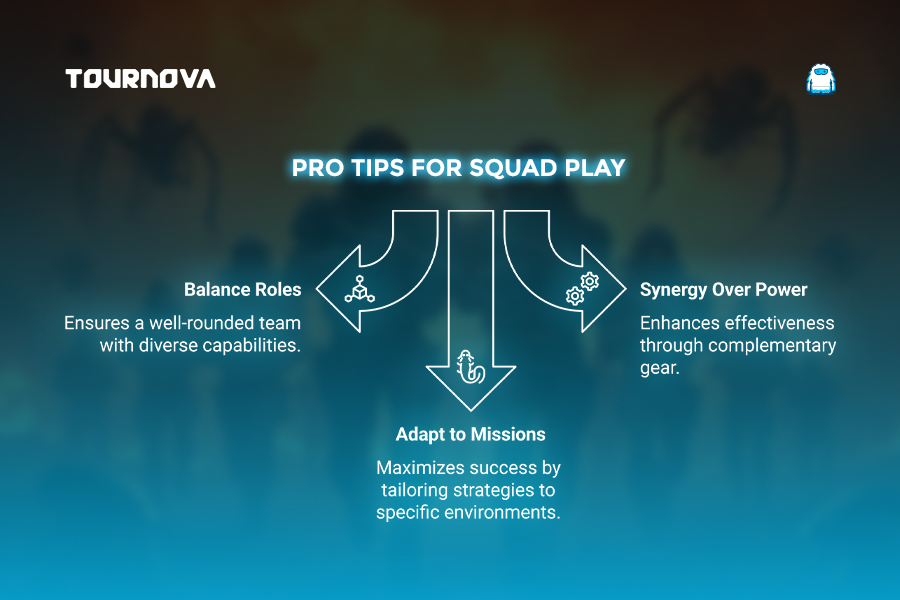
9. Synergy in Squad Play
The phrase “work together or die together” could be stamped on every Helldivers helmet. When you’re running with friends (or friendly strangers), matching roles and gear is the best way to elevate everyone’s play.
A balanced squad should include:
– Crowd Control (Stasis Grenades, Motion Sensor)
– Direct Damage (Punisher, Grenade Launcher)
– Support (Resupply Pack, Shared Ammo)
We’ve tried running four DPS and wiped far too often; so trust us, the varied approach works best, a key takeaway when considering the Helldivers 2 tier list for team composition. When synergy is strong, even impossible missions become thrilling victories.
10. How Updates Affect the Meta
Helldivers 2’s devs love to keep us on our toes. After a recent update boosted flamethrower damage, we all suddenly scrambled for close-combat builds to roast Bugs more efficiently. But with every patch, what’s top tier can change fast.
Small buffs or nerfs, as in the Justice Grenade Launcher balancing, have ripple effects throughout the tier list. It pays to check patch notes, test combos in easier missions, and not get too attached to any one build. Upcoming changes to enemy AI or new stratagems might shake everything up, so flexibility is just as important as raw power.
Bringing Order to Chaos: How Tournova Enhances Helldivers 2 Competitive Play
In the ever-evolving galaxy of Helldivers 2, where loadout synergy, squad roles, and gear adaptability separate victory from defeat, tournament organization can quickly become as complex as the missions themselves. Tournova streamlines this process, giving event organizers practical tools to manage brackets, track match outcomes in real time, and seamlessly coordinate players across squads with varied roles, whether you’re running a local skirmish or a major online competition.
By handling these logistical demands, Tournova allows organizers to focus on the gameplay, letting teams strategize around Helldivers 2 tier lists, meta builds, and the unique challenges each mission brings. The result? A smoother, more engaging competitive experience where both new recruits and seasoned veterans can jump in, form squads, optimize loadouts, and compete fairly, all while embracing the full tactical depth Helldivers 2 has to offer.
11. To Wrap Up: Choose Your Loadout Wisely
If there’s one lesson we’ve learned in our many, many Helldivers drops, it’s that gear matters. The right choices don’t just keep you alive—they let you take on the toughest missions and support your squad to victory. Use this Helldivers 2 tier list as a springboard for your experiments, but don’t be afraid to trailblaze your own meta. Strategies shift, enemies evolve, and updates roll out—but the fun of building the perfect loadout lasts. Let us know your signature combos or wildest success stories in the comments below. Maybe your discovery will be the next big squad strategy. Until then—dive hard, gear up, and spread managed democracy across the stars!
Read about all the pro gaming tier lists and best players records on Tournova.
12. FAQ: Helldivers 2 Tier List
1. What’s the best way to test a new build before high-difficulty missions?
Try your experimental loadout in lower-tier missions with random squads to see how each piece responds under pressure without risking mission failure.
2. How important is map awareness when selecting equipment tiers?
Extremely! Some gear excels only on certain maps; tight corridors vs. open fields make a huge difference, especially for crowd control or ranged weapons.
3. Can two players run the same meta loadout, or is it better to diversify?
Mixing roles is usually best. Duplicating S-Tier weapons can create ammo issues or overlook team weaknesses, so varied equipment makes squads more rounded.
4. Are there secret “synergy combos” between perks and weapons that most players miss?
Absolutely! Combining a Motion Sensor with precise explosives lets your team pre-empt enemy waves, and pairing a Resupply Pack with multiple ammo-hungry weapons prevents downtime during long sieges.