
We’ve all watched our favourite Discord servers liven up with custom bots; whether it’s a music DJ, a friendly moderation helper, or that quirky bot that always tells the best dad jokes. When we started exploring how to set up a Discord bot, it felt both exciting and a little intimidating. But really, you don’t need to be a coding wizard just to add a bot, and making a simple one yourself is well within reach.

How to Set Up a Discord Bot
Let’s walk through the full process together, with anecdotes, easy steps, and plenty of opportunities to make your Discord world uniquely yours.
1. Introduction: The Power of Discord Bots
Imagine running a Discord server that practically runs itself: welcome messages, automated responses, music in the background, and no one ever spamming inappropriate content. Discord bots have made this dream a reality for countless servers (including some of ours). Bots are more than just automated helpers; they’re the engine that powers games, information, moderation, and so much fun.
We’ve sketched out this no-nonsense, banter-filled guide to show anyone, yes, even if you’ve never touched a line of code, how to set up a Discord bot from start to finish.
2. What is a Discord Bot and Why Use One?
Without fancy jargon, a Discord bot is simply an automated user account that carries out tasks or responds to commands in your server.
You’ll see bots everywhere: muting spammers, queuing up playlists, hosting quizzes, offering weather updates, or even running mini-games. We’ve relied on bots to keep our communities welcoming (and let’s face it, a bit more lively). They’re the secret sauce in gaming squads, study groups, and creator communities alike; always working in the background so humans can focus on the fun.

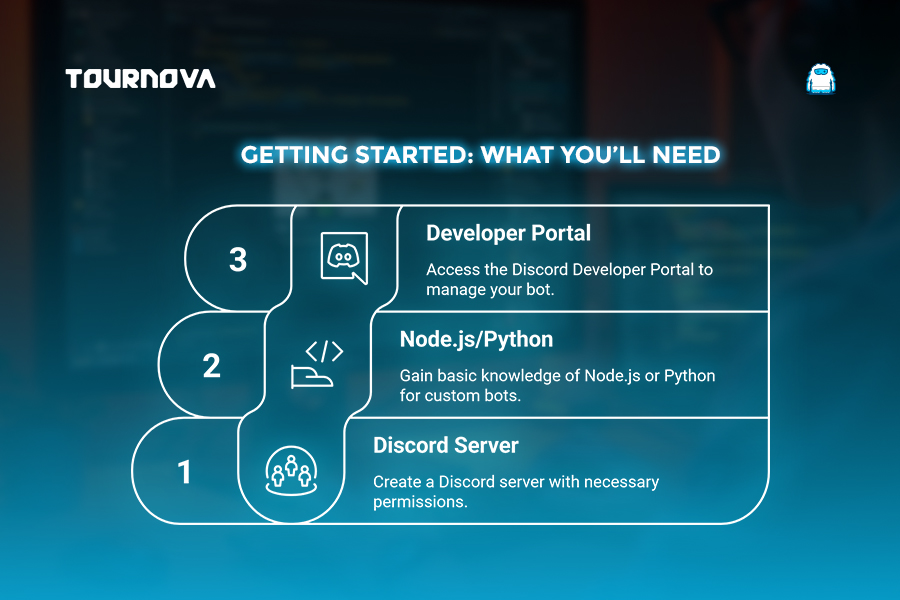
3. Requirements and Prerequisites
Before we dive in, there are just a few things you’ll need:
1. A Discord account and a server where you have “Manage Server” permission.
2. A browser for web-based steps.
3. If you want to code your own bot:
– A basic understanding of programming (beginner to intermediate).
– Node.js or Python installed on your device.
– A code editor (VS Code, Atom, Sublime, or even Notepad).
– An account on the Discord Developer Portal (don’t worry; it’s free!).
Hosted/public bots don’t require coding, but adding your own, even a simple one, opens up a world of creative potential.
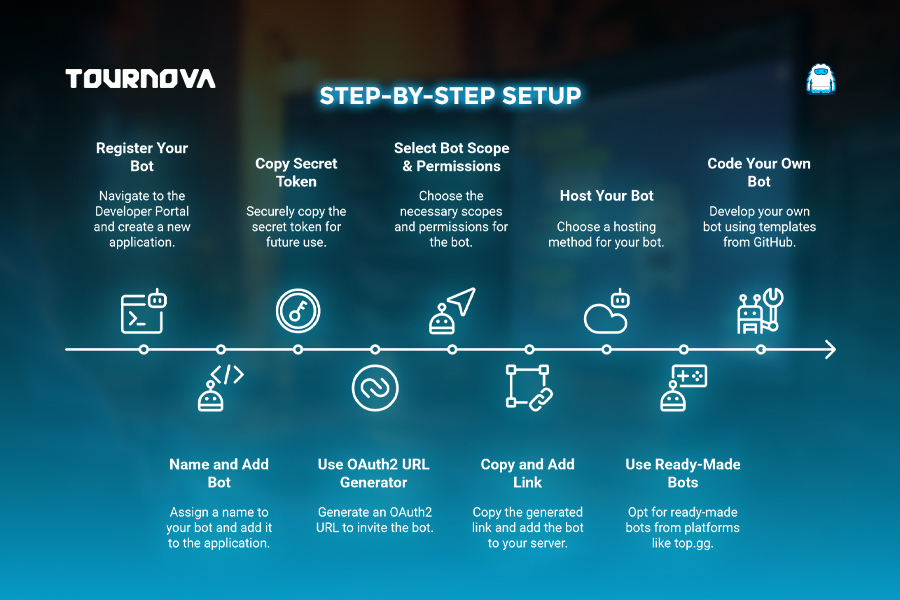
4. Step 1: Register Your Bot with Discord
Our first real step on how to set up a Discord bot begins at the Discord Developer Portal.
1. Log in and click “New Application.”
2. Name your bot; something memorable but appropriate (no “Xx_spam_bot_xX” please!).
3. Under your application, find “Bot” in the sidebar and select “Add Bot.” Confirm, and voilà, your digital sidekick is born.
4. Copy the “Token” provided, but keep it private, like you’d protect your Netflix password.
This step is where our bot gets its identity; the difference between a faceless account and your own server’s superhero.
5. Step 2: Invite Your Bot to Your Server
Once our bot exists, it needs a place to hang out.
1. In the Developer Portal’s OAuth2 settings, click “URL Generator.”
2. Under “Scopes,” tick “bot.” In “Bot Permissions,” pick what your bot should do (for most, start with “Read/Send Messages” and “Manage Messages”).
3. Copy the invite link provided, paste it into your browser, and select your server.
4. Approve the permissions, and your bot should now appear in your server’s member list!
We remember the excitement of seeing our bot join the server for the first time; even when it wasn’t doing much yet, it felt like welcoming a new squad member.
6. Step 3: Setting Up the Bot Locally or Using a Hosting Service
Depending on how hands-on you want to be, you have a choice here for how to set up a Discord bot :
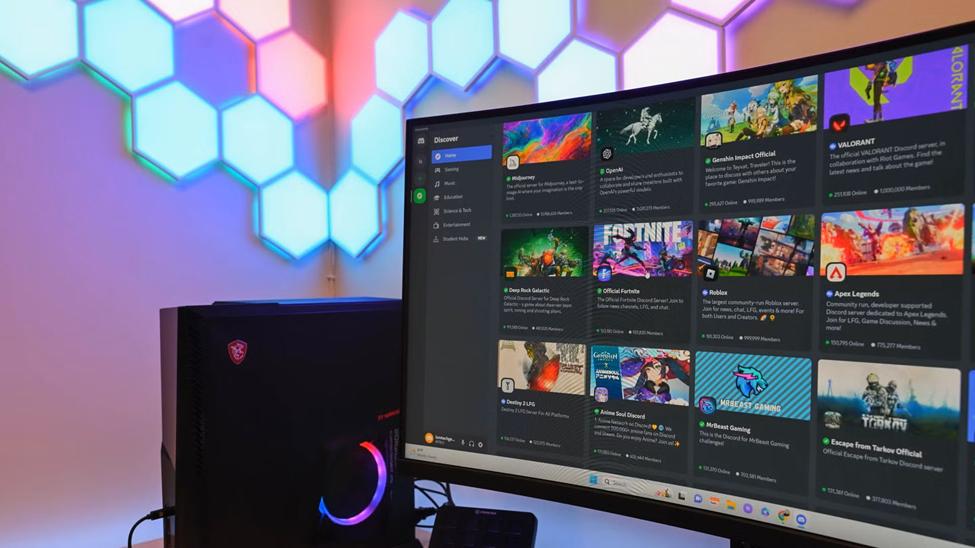
1. Add a ready-made bot: Head to a site like top.gg or discord.bots.gg and select a popular bot (like MEE6, Dyno, or FredBoat). These sites guide you through adding public bots in minutes.
2. Host your own/coding:
– Search GitHub for “Discord bot template” or use the discord.py or discord.js starter projects.
– Download or clone the template, open your terminal, and install dependencies (`npm install` for Node.js, `pip install discord.py` for Python).
– Paste your bot token into the config file (usually named .env or config.json).
That first little “ping” from your locally hosted bot is a rush; we promise!
7. Step 4: Write or Edit Bot Code (For Developers)
Feeling creative?
Here’s a classic “Hello, world!” bot in Python (discord.py):
“`python
import discord
from discord.ext import commands
bot = commands.Bot(command_prefix=”!”)
@bot.event
async def on_ready():
print(f”Logged in as {bot.user}”)
@bot.command()
async def hello(ctx):
await ctx.send(f”Hello, {ctx.author.mention}!”)
bot.run(“YOUR_BOT_TOKEN”)
“`
And in Node.js (discord.js v14+):
“`javascript
const { Client, GatewayIntentBits } = require(‘discord.js’);
const client = new Client({ intents: [GatewayIntentBits.Guilds, GatewayIntentBits.GuildMessages, GatewayIntentBits.MessageContent] });
client.once(‘ready’, () => {
console.log(`Logged in as ${client.user.tag}`);
});
client.on(‘messageCreate’, message => {
if (message.content === ‘!hello’) {
message.reply(`Hello, ${message.author}`);
}
});
client.login(‘YOUR_BOT_TOKEN’);
“`
Expand from there; add music, moderation, or anything else by following guides on Discord’s official docs or community resources.

8. Step 5: Running, Testing, and Debugging Your Bot
After you save your code, it’s time for the real test on how to set up a Discord bot.
– Run your bot using `python bot.py` or `node bot.js`.
– Make sure it comes online on your Discord server.
– Try out commands in your server (type “!hello” and see the response!).
– If the bot stays offline, double-check your token, permissions, or error messages in your terminal.
We’ve all dealt with that first “invalid token” error; it’s part of the journey; persist, and keep an eye on your logs!
9. Hosting and Keeping Your Bot Online
No one wants their bot to sleep while everyone’s active.
Services like Replit, Glitch, Heroku, or a personal VPS let you keep your bot running 24/7.
– Upload your bot files, set your environment variables (including your token), and follow the platform’s “Run” or “Deploy” steps.
– Pay attention: free plans might “sleep” after inactivity; for always-on bots, a small VPS may be best.
Regularly update your code and make backups; you’ll thank yourself later!
10. Must-Have Features and Next Steps
As your bot becomes part of the community, consider adding essential functions:
1. !help command: Lists what your bot can do.
2. Error handling: So failed commands don’t clog up chat.
3. Role management: Assign or remove roles via the bot.
4. Anti-spam: Moderate and protect your server.
5. Logging: Keep an eye on key events.
Get inspired; visit top.gg or join development communities on Discord for fresh ideas and new features on how to set up a Discord bot.
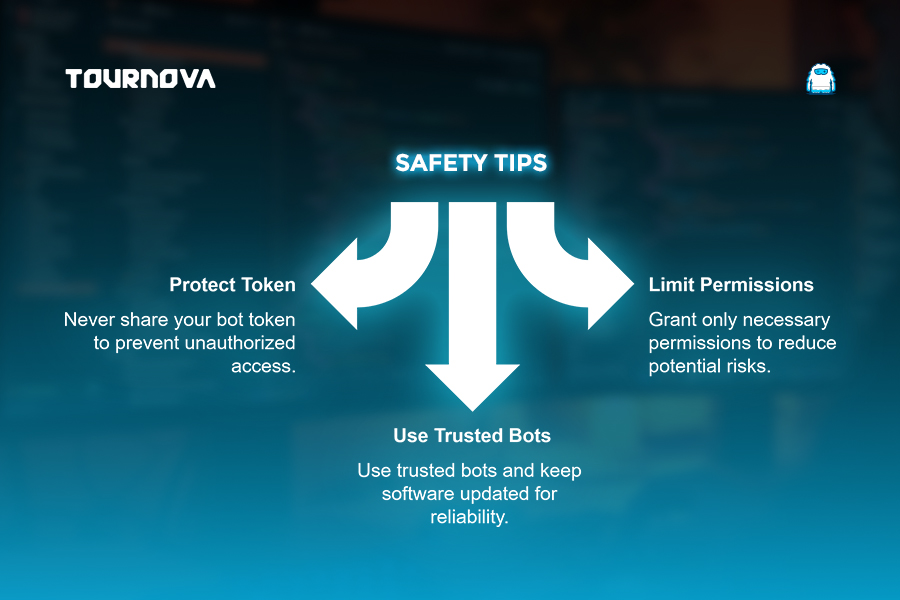
11. Safety, Security, and Best Practices
Take your bot’s security as seriously as your own privacy.
– Never share your bot’s token; private means private!
– Only give your bot the permissions it needs; avoid “Administrator” unless absolutely required.
– Keep libraries/dependencies up-to-date.
– Only install trusted code and double-check anything unfamiliar.
Think of your bot like your house keys: handle with care, and you’ll stay safe.
From Bots to Brackets: Tournova Makes Esports Automation Effortless
If you’ve enjoyed the simplicity of adding a music or moderation bot to your Discord server, you’ll appreciate how Tournova takes automation a step further by managing the entire tournament experience; no coding required. Much like installing a ready-made bot, Tournova’s Discord integration enables server owners and admins to run tournaments, automate player registrations, generate brackets, and distribute rewards directly within their communities. You don’t need developer skills or a long setup process: inviting the Tournova bot and configuring an event is just as easy as adding any other helpful Discord assistant.
Streamlined Tournament Tools for Every Discord Community
For those who value the power of Discord bots to keep servers fun and organized, Tournova feels like a natural upgrade, built specifically for gaming communities. Its intuitively designed commands and guided setup walk organizers through each step, so anyone can run a fair and engaging esports contest. With Tournova, automation isn’t limited to moderation or music; it becomes the backbone of a fully managed, transparent, and rewarding tournament experience for your server, helping you turn everyday gaming groups into competitive communities.
12. Wrapping Up: Unlocking Discord’s Potential with Bots
When it comes down to it, setting up a Discord bot is about making your space more welcoming, efficient, and unique. We’ve enjoyed building bots together, failing a few times, laughing at the silly errors, and finally powering up the perfect server companion. Start simple when learning how to set up a Discord bot; add a public bot or try a basic custom script. As you grow more confident, dive deeper and shape your bot into whatever fits your community’s vibe. The fun is in the journey, the surprises, and the sense of sharing something you built yourself. Go on, bring your own bot to life and watch your Discord community level up; one command at a time!
Read all you need to know about gaming tech and apps on Tournova.
FAQs: How to Set Up a Discord Bot
1. Can I use a Discord bot on multiple servers at once?
Yes! Once your bot is set up, you can invite it to as many Discord servers as you’d like, provided you have the correct invite permissions on each.
2. What happens if my bot token is accidentally shared or leaked?
If your token is exposed, immediately regenerate a new token in the Discord Developer Portal and update your code. Never share your token in public repositories or chats.
3. Are there “no-code” ways to create Discord bots?
4. Can I use my bot to automate administration tasks for a large community?
Absolutely; most moderation bots are built for just this! They can handle tasks like muting, banning, filtering out bad language, and assigning roles, making life much easier for server owners.