
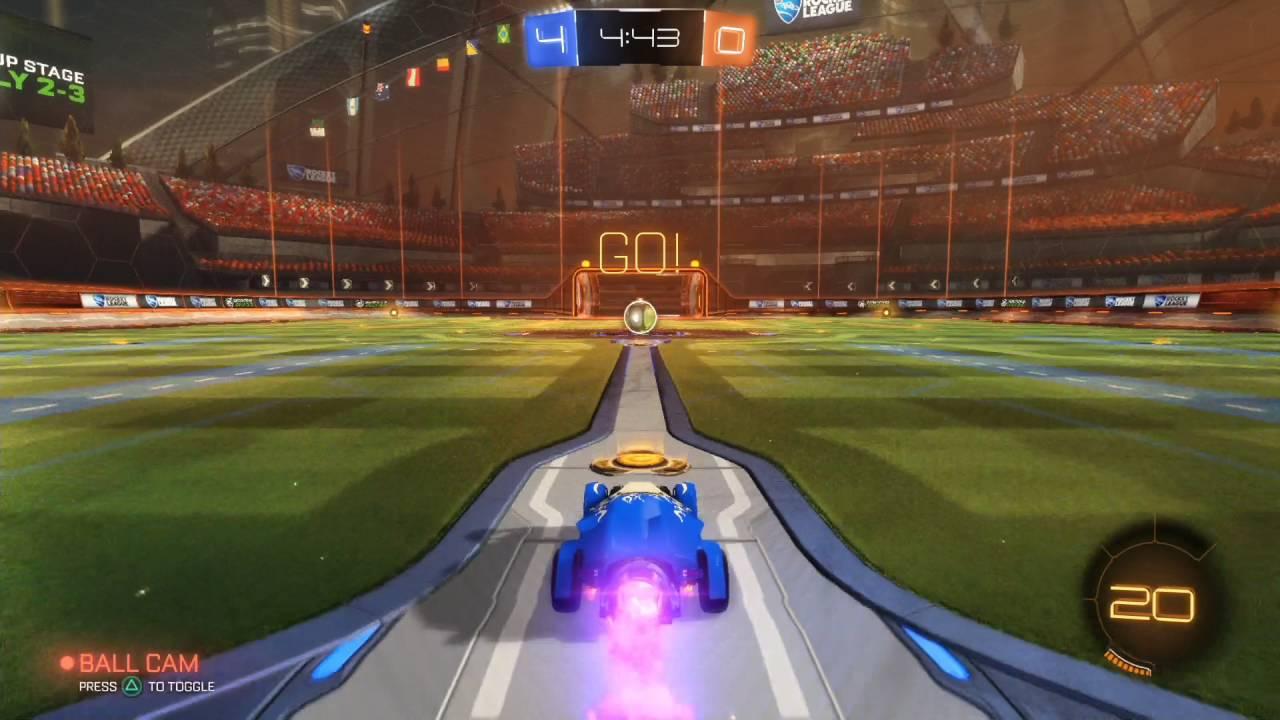
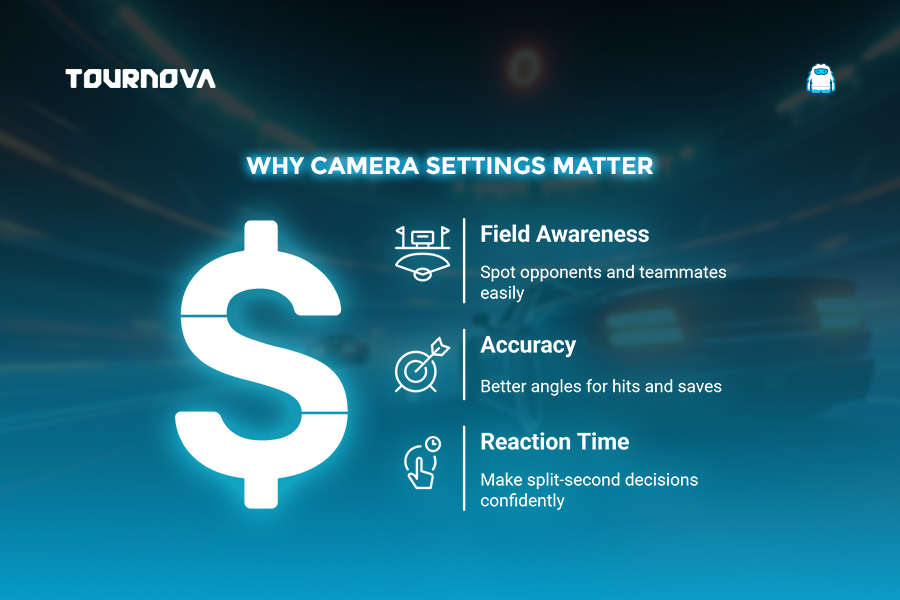
When you’re on the Rocket League field, no two moments are the same. You’ve got split-second decisions to make, a ball flying at impossible angles, and opponents closing in; so how do you keep up with it all? Believe it or not, your camera settings hold the key to reaction time, accuracy, and game awareness. It’s not just about what looks good on-screen; the right configuration directly impacts how you read plays, line up shots, and stay one step ahead of your opponents. That’s where this Rocket League camera settings guide comes in. We’re here to help you tune your settings so they feel like an extension of your instincts. Whether you’re a defensive wall, a flashy striker, or a creative freestyle player, the right settings can transform the way you experience the game. Let’s dive into the nitty-gritty and get you seeing the field like a pro.
1. Rocket League Camera Settings: Default Camera Settings: What You Start With
We all start the game the same way: default settings turned on, just trying to learn how to hit the ball without flipping into the goalpost. The default camera settings in Rocket League are serviceable for beginners, but they’re far from optimal for higher-level play. Here’s the rundown:
- Field of View (FOV): 90 degrees
- Distance: 260
- Height: 100
- Angle: -3°
- Stiffness: 0.5
- Swivel Speed: 2.5
- Transition Speed: 1.0
While these settings give you a decent look at the action, they have limitations. For instance, the narrow field of view restricts how much of the field you can see, and the camera’s tight follow-around can make fast aerial plays or defensive clears harder to read. Most competitive players adjust these defaults early on to improve awareness and control.
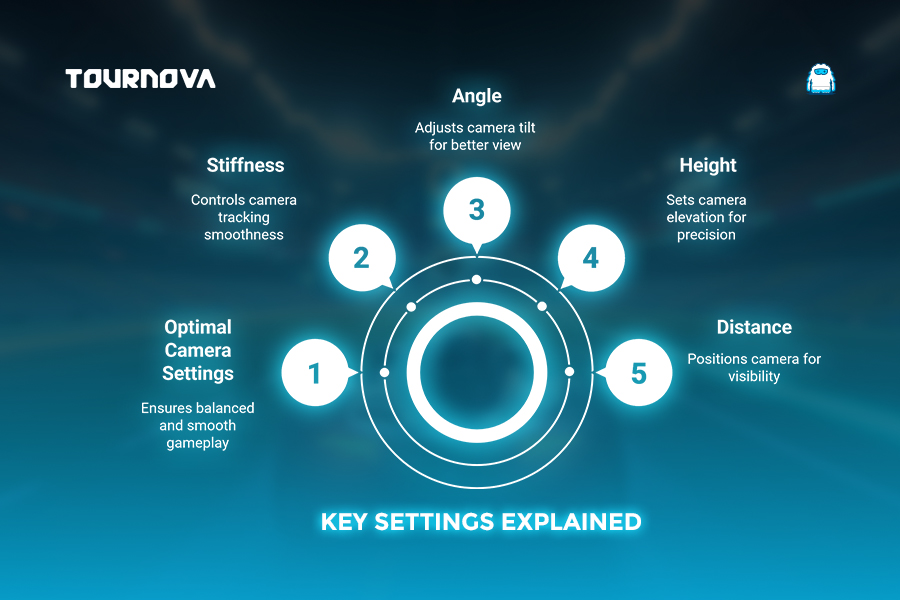
2. Key Camera Settings and What They Mean
Before diving into customization, let’s break down what each of the Rocket League camera settings does and why it matters. Knowing these parameters will help you make meaningful changes instead of random tweaks.
Field of View (FOV)
This controls how much of the field you can see at once. Increasing FOV allows you to spot opponents or teammates more easily, but too high and things may feel distorted. Most players prefer a setting between 100–110 for a balance of awareness and focus.
Distance
This is how far the camera is positioned behind your car. A higher distance gives a wider perspective, while a lower distance provides better close-up control. Competitors typically hover around 260–280 for consistent visibility.
Height
Height determines how high the camera hovers above your car. Lower heights aid in precision play, while higher settings give you a greater field overview. Optimal settings range between 90–110.
Angle
This is the tilt of the camera relative to your car. Negative values tilt the camera downward. For most players, values between -3 to -5 degrees offer a strong blend of visibility and mechanical precision.
Stiffness
In this guide to Rocket League camera settings, we’ve noticed that stiffness controls how closely the camera follows your car when it moves. Lower stiffness feels looser, while higher stiffness locks the camera firmly in position. Most players keep stiffness between 0.4–0.6 for balance.
Swivel Speed and Transition Speed
Swivel speed affects how fast the camera rotates to match your car’s movements, while transition speed controls the switch between ball cam and car cam. Adjust these to suit your reaction time, but avoid extreme changes to prevent disorientation.
3. How to Customize Camera Settings for Your Playstyle
Now that we’ve explained the settings, let’s talk about tailoring them to what you need. After all, the best camera settings are the ones that feel natural and give you confidence.
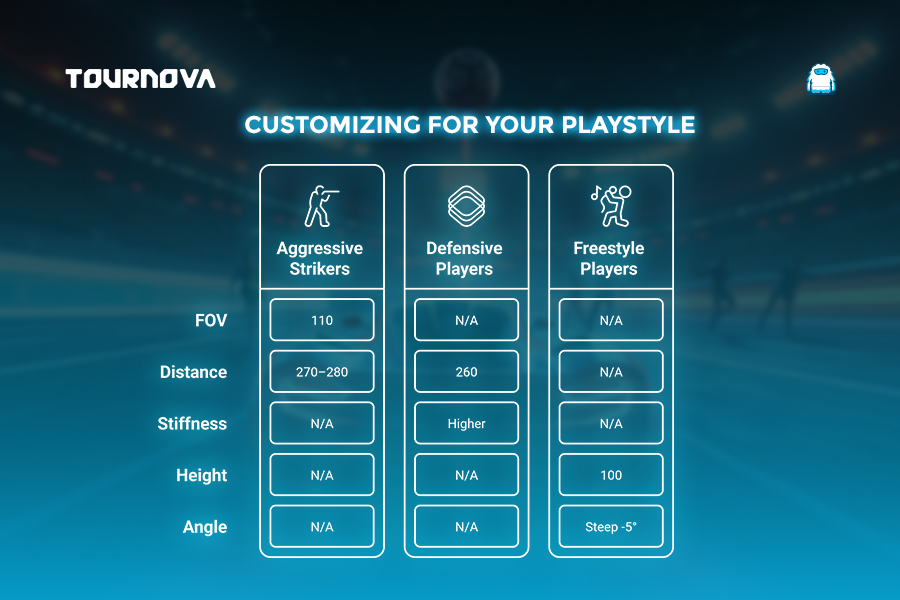
Aggressive Strikers
If you’re all about scoring, you’ll want higher awareness and mobility in your Rocket League camera settings. Use an FOV around 110 and a distance of 270-280 to keep your eyes on both the ball and teammates making plays. Prioritize camera fluidity by lowering stiffness slightly to 0.4.
Defensive Players
Goalkeepers and defensive-minded players need precision. Try a tight distance (around 260) and slightly higher stiffness for better control during last-second saves. A swivel speed of around 5-7 can also improve field awareness when tracking opponents’ movements.
Freestyle and Creative Players
Freestylers, your focus is on aerial mechanics and ball-handling flair. A height of 100, a lower distance setting (260), and a steeper angle (-5) can help you stay locked in during all those spins and flip resets.
No matter what role you play, experimenting with settings in-game is key. Spend time finding what feels right and remember there’s no “perfect” universal setup; it’s all about what enhances your comfort and gameplay.
4. Recommended Camera Settings Used by Pros
You’ve probably seen pro players and thought, “How do they make it look so easy?” While skill and precision are irreplaceable, many pros fine-tune their camera settings to give themselves the biggest possible advantage.
Here are some Rocket League camera settings based on what top competitors use:
- Field of View (FOV): 110
- Distance: 270
- Height: 100
- Angle: -4 degrees
- Stiffness: 0.5
- Swivel Speed: 5.0
- Transition Speed: 1.2
For example, Justin typically uses a wider FOV (110) to increase his awareness. Meanwhile, players like GarrettG balance FOV with slightly reduced swivel speed for better reaction time. Don’t hesitate to take inspiration from these setups, but remember to tweak them for your preferences.
5. Step-by-Step Guide: Adjusting Your Camera Settings
Changing your camera settings takes just a few moments, but can completely change how the game feels. Follow these simple steps:
- Access the Settings Menu: From the main menu, click Options and navigate to the “Camera” tab.
- Customize Each Parameter: Adjust settings like field of view, distance, angle, etc., using the sliders.
- Save and Test: Apply your changes and hop into free play or training mode to test them. Gradual adjustments often work best to avoid overwhelming changes all at once.
Not sure where to start? Tweak one setting at a time and see how it affects your play. Spend a few matches experimenting until you’re happy with the results.
6. Tips for Using Camera Settings to Improve Your Gameplay
Your Rocket League camera settings are the foundation, but how you use them during gameplay can make or break your performance.
- Use Ball Cam Strategically: Flip between ball cam and car cam based on the moment; use car cam for boost control and positioning, then ball cam for striking.
- Analyze Replays: If you’re missing shots or losing track of the ball, check your replays and see if visibility (or lack thereof) is a factor.
- Practice Consistently: Adjustments may feel weird at first, but stick with them. Over time, your muscle memory will adapt, and you’ll feel more confident.
7. Common Mistakes When Adjusting Camera Settings
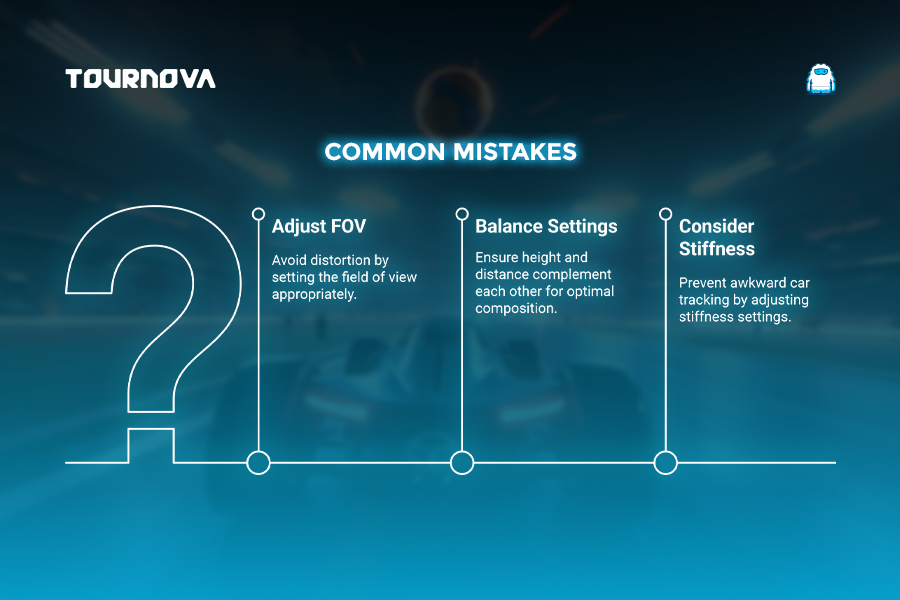
It’s easy to overdo it when customizing your camera, but don’t worry; we’ve all been there. Here’s what to avoid:
- Setting FOV Too Wide: Ultra-wide FOVs make it hard to focus on your car and the ball, especially in 1v1 scenarios.
- Unbalanced Height and Distance: These two settings should complement each other. Too much height with low distance creates a detached feel, while the opposite can feel claustrophobic.
- Ignoring Stiffness: Neglecting stiffness can make controls feel unnecessarily loose or rigid. Experiment in training mode to find the sweet spot.
Tournova: Sharpen Your Competitive Edge with Clear Views and Seamless Gameplay
Much like adjusting Rocket League camera settings to enhance field awareness, Tournova empowers players with streamlined tournament experiences to improve focus and performance. By leveraging simple tools and accessible platforms like Telegram and Discord, Tournova eliminates distractions from technical complexities, enabling players to dive straight into competitive gaming. Just as perfect camera visibility can help you make swift, accurate plays, Tournova’s automated tournament management, covering player matching, bracket organization, and prize distribution, ensures a seamless journey from casual participation to competitive mastery.
Adding to its appeal is Tournova’s token economy, which fuels player engagement by offering rewards for tournament participation and skillful performance. These tokens can be used for premium features, special event access, or auctions for in-game assets. Whether you’re optimizing your in-game vision or crafting your tournament strategy, Tournova creates an environment that prioritizes simplicity, fairness, and growth for all players.
8. Finishing Thoughts: See the Game Differently
Whether you’re climbing ranks or just trying to land a clean aerial shot, the right Rocket League camera settings can make you feel more in control of every match. Adjusting your setup might seem trivial, but it’s one of the easiest ways to improve your gameplay without needing advanced mechanics. So, grab that controller, revisit your settings, and jump into the action. The field is clearer now, and so is your path to victory.
Read the hottest in-depth Esports Game Guides on Tournova.
FAQs
1. How often should I revisit my camera settings?
It’s a good idea to revisit your camera settings whenever you feel like your gameplay is stagnating. As you improve, your preferences might change too.
2. Are pro player settings guaranteed to work for me?
Not necessarily! Pro settings are a great starting point, but your preferences and playstyle might differ. Tweak them to suit your comfort level.
3. Can I reset to default settings if I mess up?
Yes, you can always revert to default settings through the options menu. From there, you can start experimenting again.
4. What’s the best way to test new camera settings?
Testing in free play mode is the most effective way to get comfortable with adjustments. Practice dribbling, aerials, and shots from different angles to see how your new settings feel.